

Good to know: All blog posts created via an automation will count towards your usage the same as if you created the blog manually.
Good to know: Automation will not pull any YouTube Shorts videos.
Creating Automations
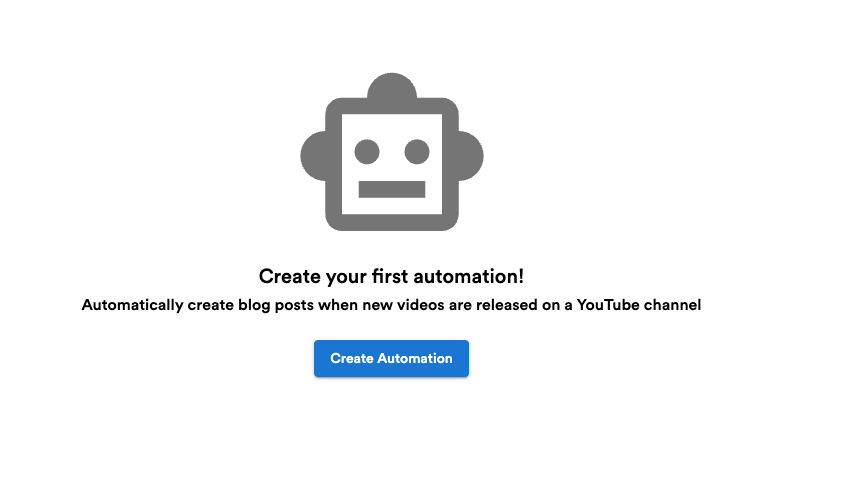
To create an automation click on the “Create Automation” button and then following these steps…1. Enter a YouTube Channel URL
This will be the YouTube channel for which blog posts get created each time a new video is released on the channel.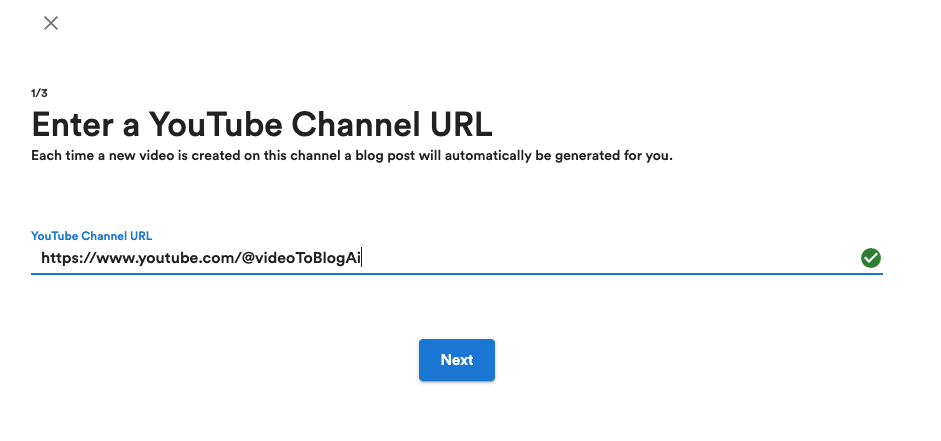
Channels will be checked every hour for new video releases.
2. Select an Action
This is where you specify what you want to do once your blog post is generated. You have the option of emailing the blog post to you in one or more formats as well as exporting the blog post directly to your website.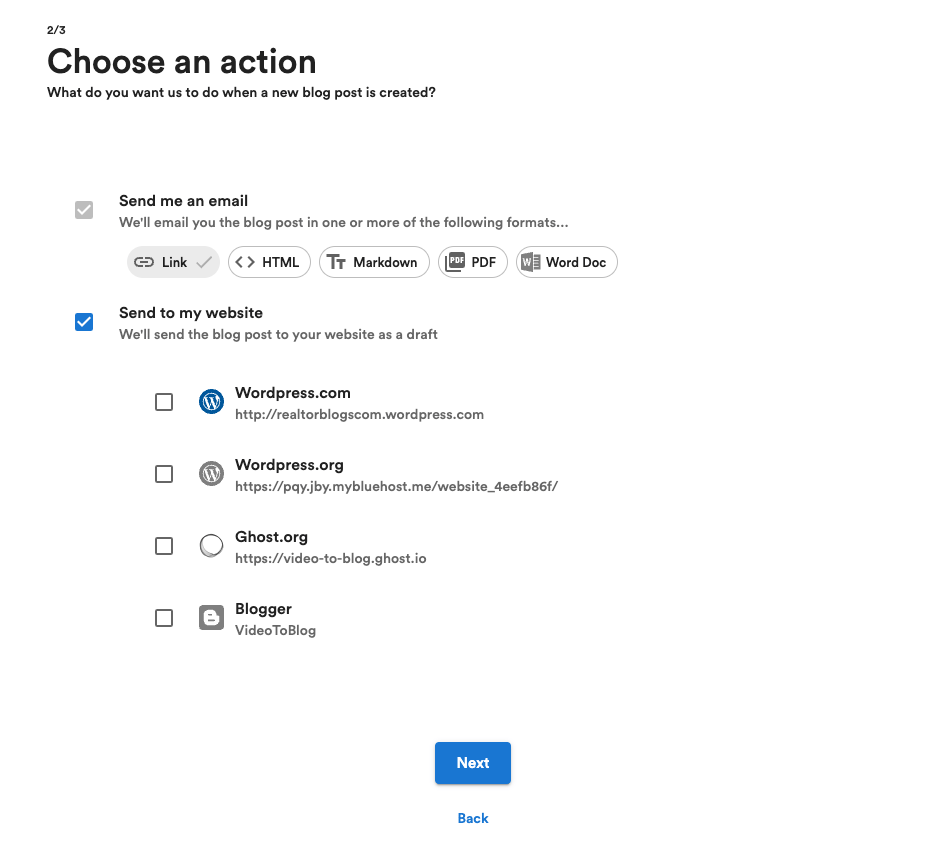
Good to know: Only websites added in your integrations will show. Learn more.
Good to know: You will always be emailed when a blog post is generated.
3. Configure Blog Generation Settings
Lastly, you can configure the exact settings to be used for your generated blog post.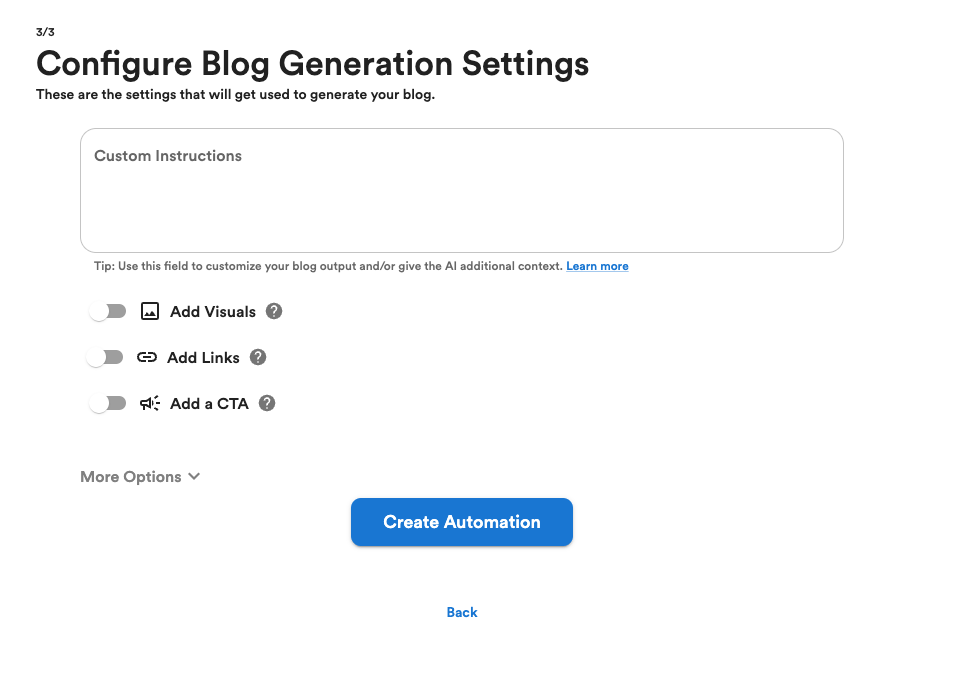
Editing Automations
You can edit your automation at anytime by clicking on your automation in the automations screen. This will bring up the Edit Automation dialog where you can make any desired changes to your automation.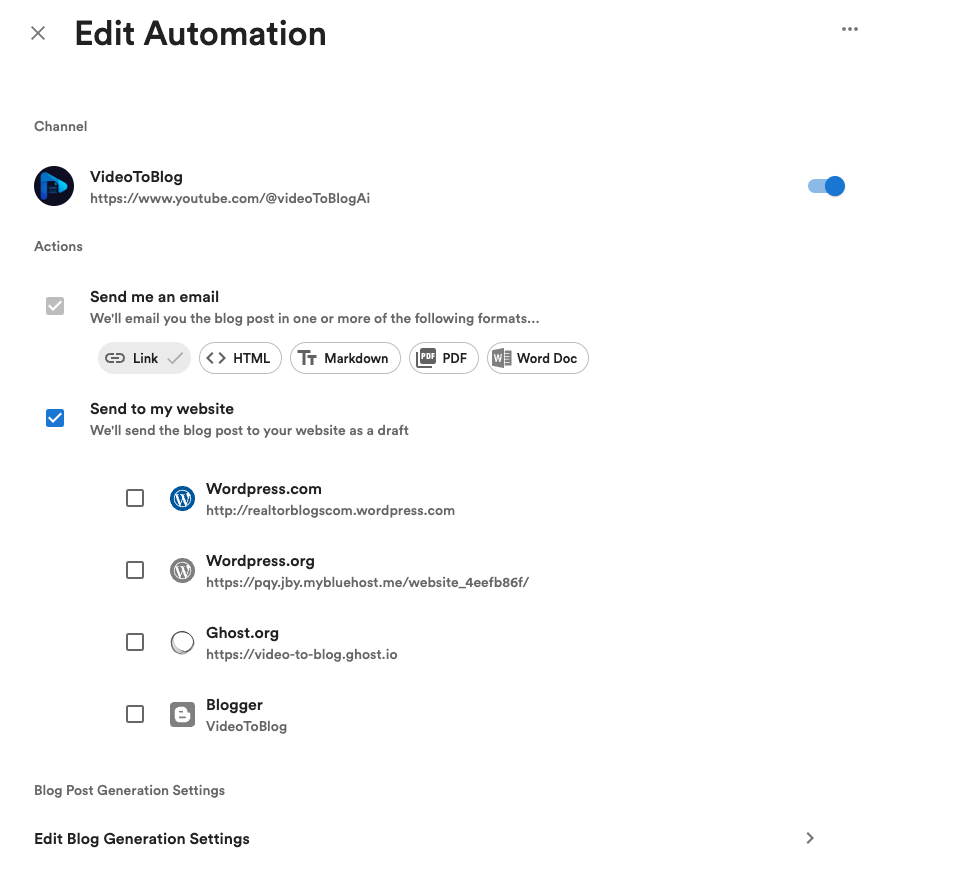
Disabling Automations
If you want to disable your automation (but not delete it entirely) you can do so by clicking the switch to the right of your automation.
Deleting Automations
To delete your automation click on your automation to bring up the Edit Automations dialog and then click the ellipsis button on top right and then click Delete.