1. Create a custom app in Shopify
Go to your Shopify settings and click the “Create an app” button.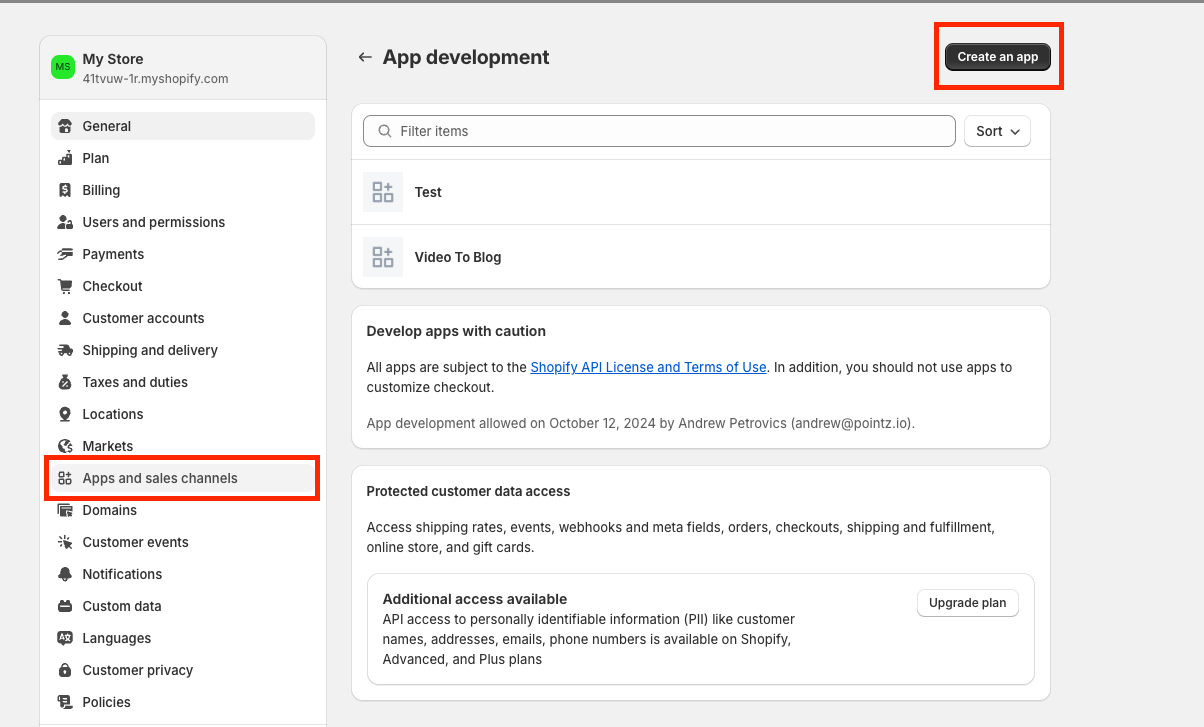
2. Name your app
Give your app and name (e.g. Video to Blog) and click the “Create app” button.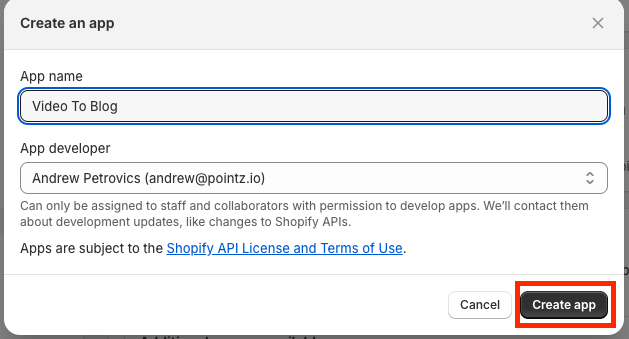
3. Give the appropriate permissions
Click the “Configure Admin API scopes” button.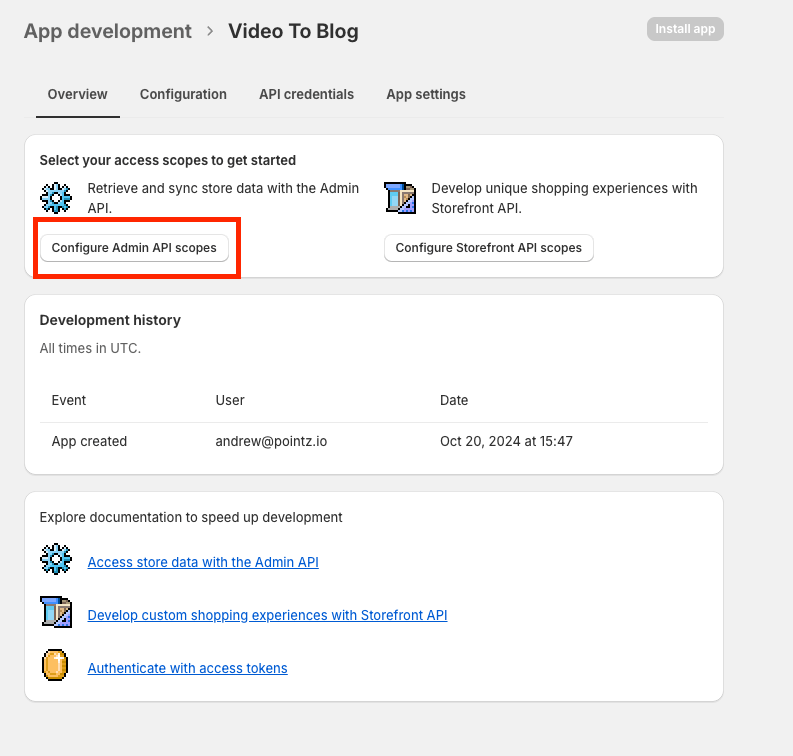
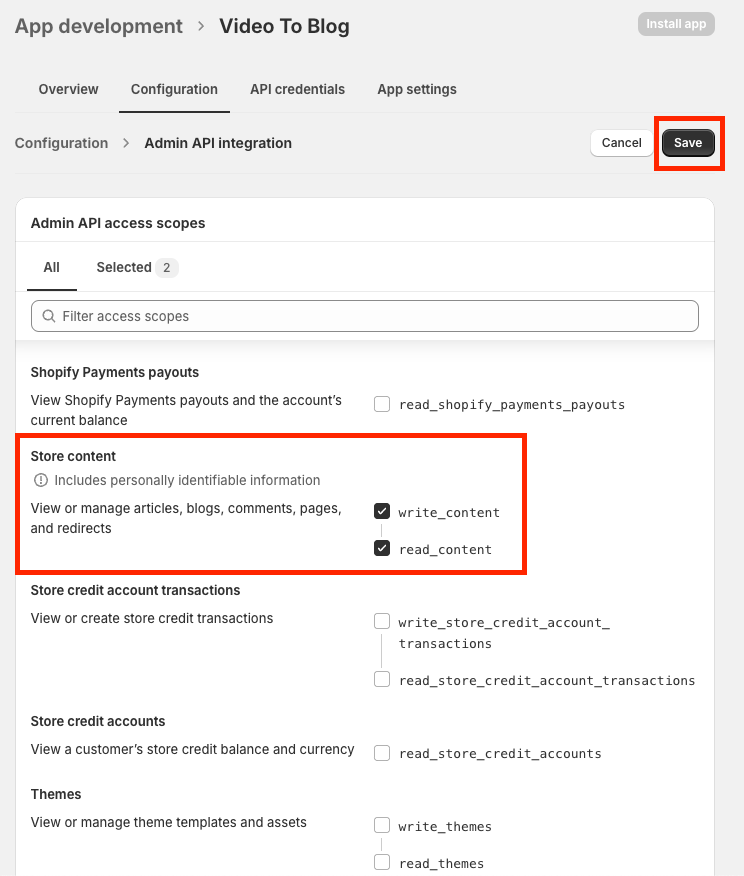
write_content and read_content check boxes under “Store content” and click the Save button.
4. Install app
Click the install app button.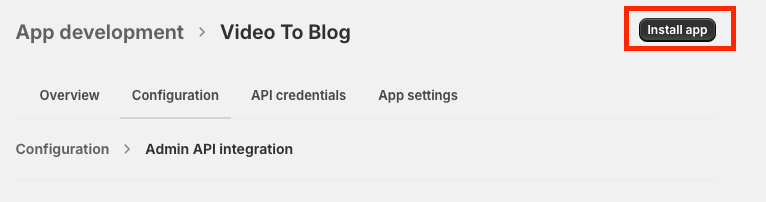
5. Copy token
Under the API credentials tab, click the “Reveal token once” button and copy the token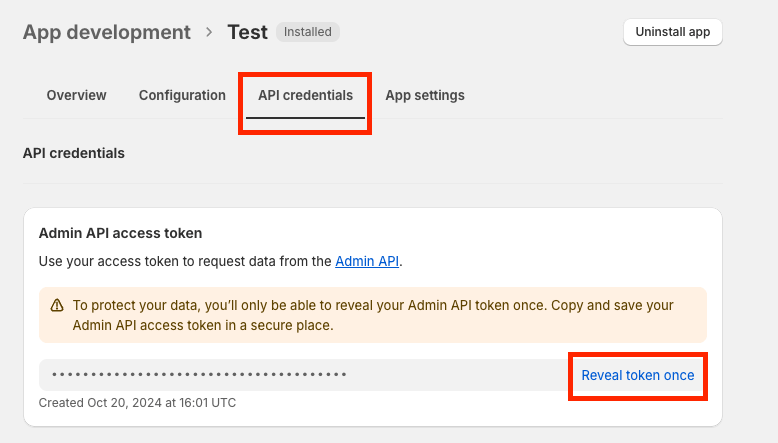
6. Paste token into Video To Blog
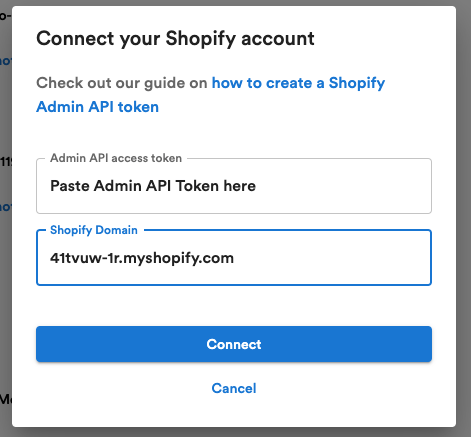
In Video To Blog settings click the “Connect” button next to Shopify.
7. Add your Shopify Domain in the dialog and hit Connect
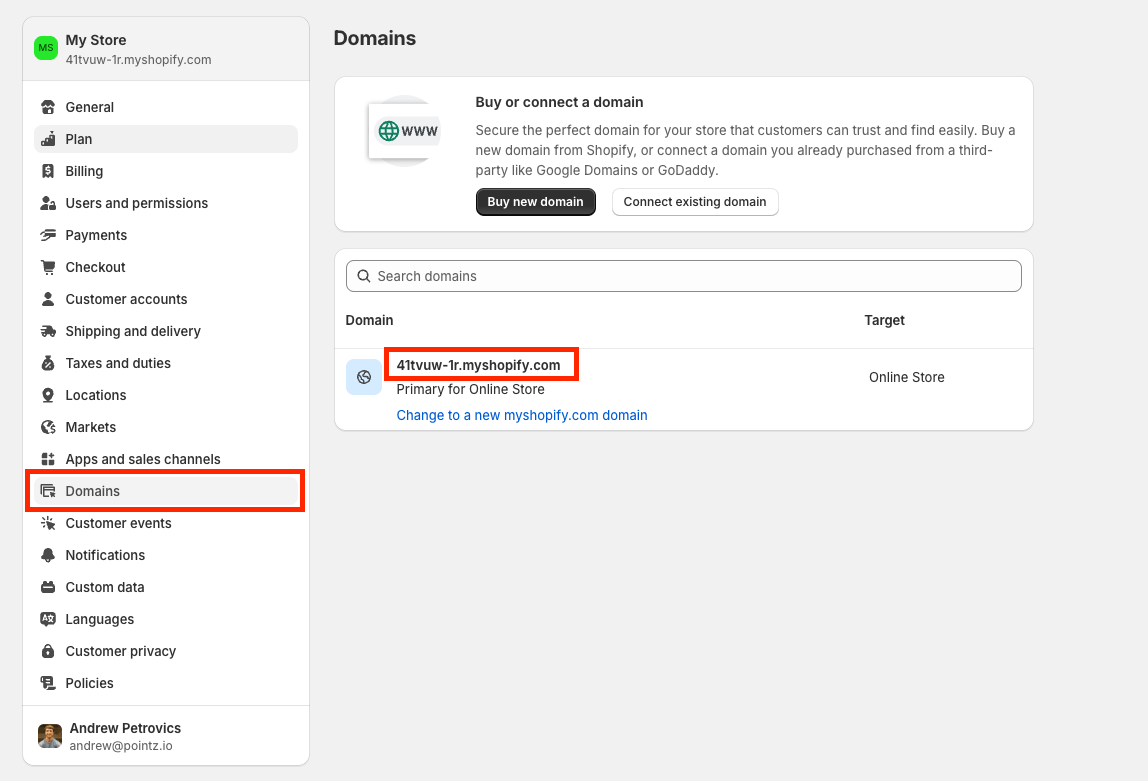
Copy your Shopify store domain (this can found in the image below).